


Baja Designs
Baja Designs | S2 Sport Black LED Auxiliary Light Pod (Pair) - Universal
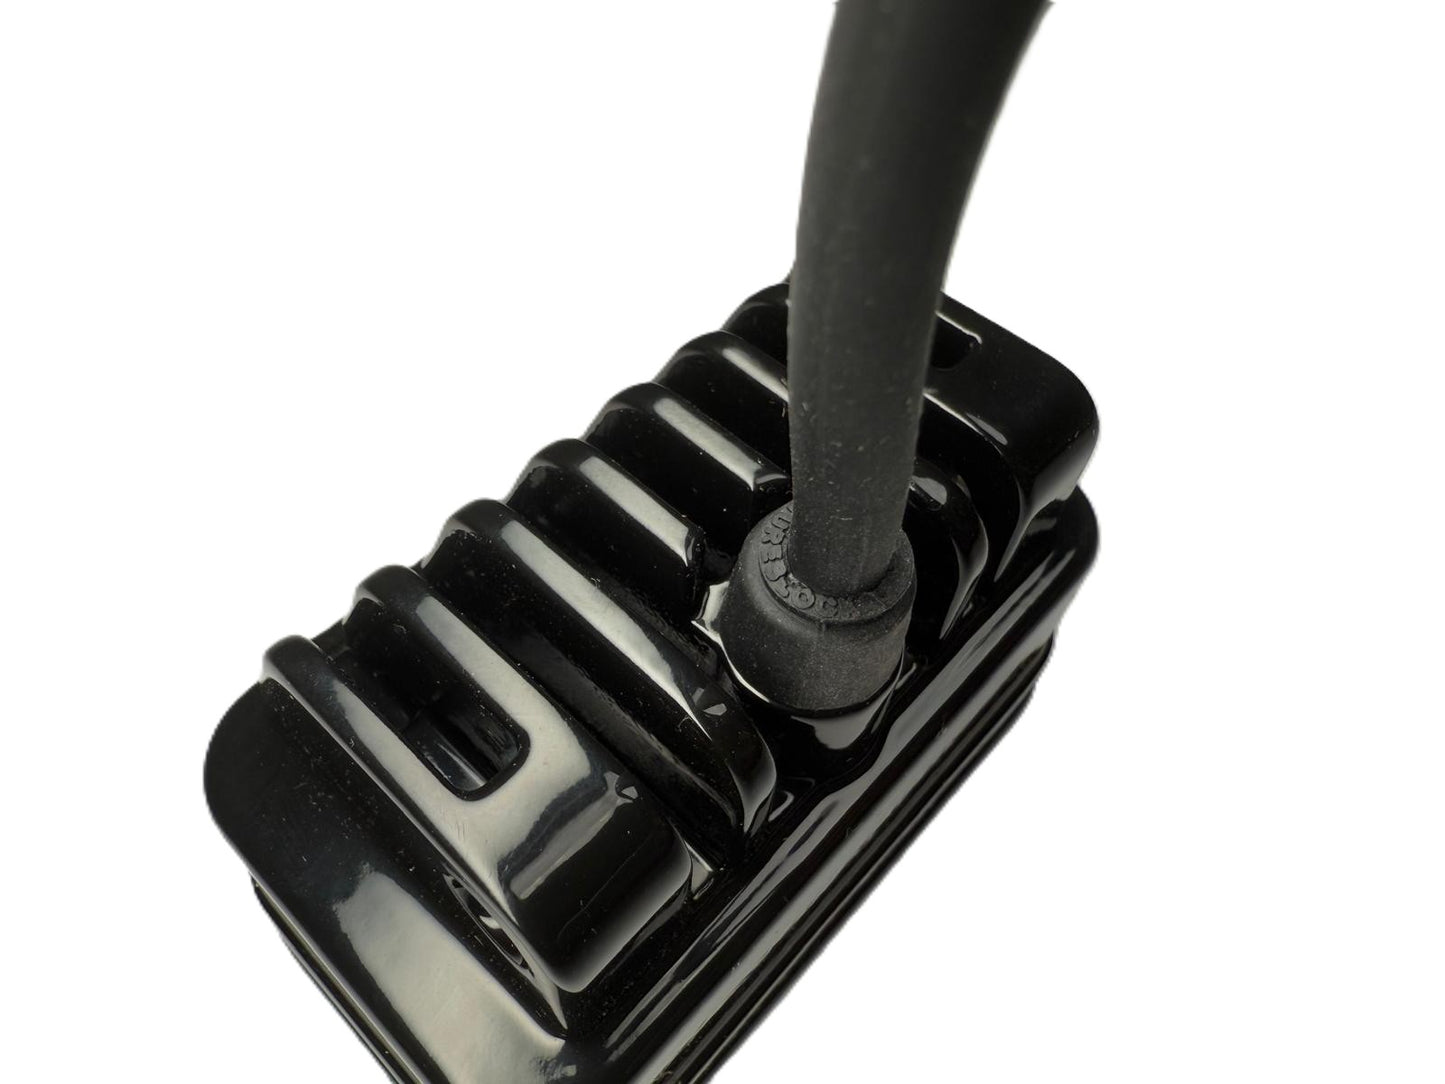
Baja Designs | S2 Sport Black LED Auxiliary Light Pod (Pair) - Universal
Regular price
$232.95 USD
Regular price
$232.95 USD
Sale price
$232.95 USD
Quantity
Couldn't load pickup availability
The S2 Sport features the same quality, fit, and finish that is synonymous with the Baja Designs name, at an attractive price point. The S2 Sport is ideal as a fog, cornering, rack, or reverse light and much more. A compact and powerful light, featuring quality that is second to none.
The Baja Designs Advantage:
- Satisfaction Guarantee – 30-Day Money Back Guarantee
- Limited Lifetime Warranty – Complete Purchase Protection
- uService – Replaceable Lenses And Optics
- ClearView – All The Light, Right Where You Need It
- MoistureBlock – Waterproof, Rain Proof, Submersible
- CopperDrive – Only LED Driven At 100 Percent
- 5000K Daylight – Less Driver Fatigue, Natural Color
Installation Instructions:


Disclaimer
Buyer is responsible for ensuring that it uses the products (and its vehicle) in accordance with all applicable laws, regulations, guidelines, and standards of care. Buyer acknowledges that some products may only be used when off-roading, and Buyer will comply with all vehicle and road safety guidelines. Buyer is solely responsible for (and will indemnify and hold Bestop harmless for) any claims, losses, damages, fines, fees, costs, or other amounts arising out of Buyer’s non-compliance with these provisions.
Baja Designs California Proposition 65
WARNING: Cancer and Reproductive Harm - www.P65Warnings.ca.gov.
Vehicle Lighting Zones
The needs of every off-roader are different, so we've created a Lighting Zone system to help you mix and match the right products, with the right lenses, in the right places to achieve the absolute best results.
Learn more about each zone's placement, power, and pattern.
Learn more